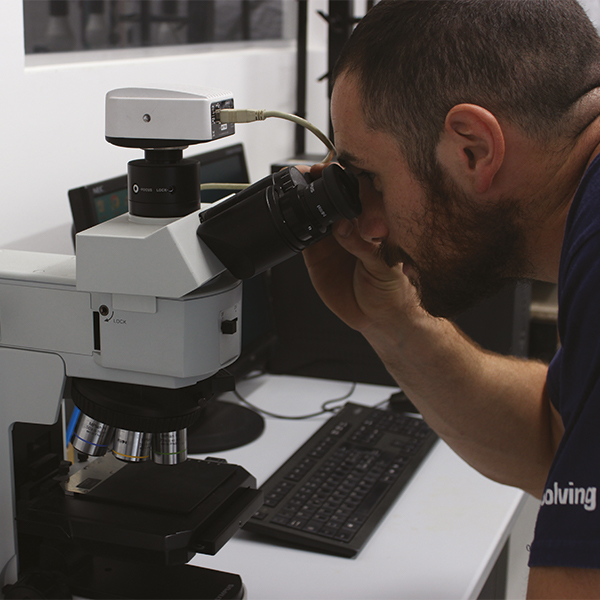
Vickers micro-hardness
With reference to UNI EN ISO 9015 regarding welding tests, to the UNI EN ISO 6507 series for hardness tests on metallic materials in general.

Tensile test
The reference standard is the UNI EN ISO 6892 series in order to determine, among other characteristics, the mechanical resistance, the modulus of elasticity, the yield strength of the material under examination.
In particular, in the welding sector, this test is often required to validate welding procedures and specifications.

Bend test
The bend test according to UNI EN ISO 7438 involves the plastic deformation of a specimen, up to a specific bend angle, then visually checking the deformed surface. Each type of product can refer to its specific regulation containing the acceptability criteria. In particular, as regards welding, the reference standard is UNI EN ISO 5173.

Impact resilience test (Charpy)
The impact resilience test, conducted using a Charpy pendulum, is described in the UNI EN ISO 148 series of standards. It consists in measuring the energy necessary to break, in a single blow, a specimen of the material under examination, having a unified shape and dimensions, in order to determine the energy absorbed by the material until failure.

Macrographic and micrographic control
Macrographic and micrographic checks are carried out in order to evaluate the internal structure of a weld, with particular attention to the dimensions, the presence of cracks, cavities or inclusions, lack of fusion or penetration (macro) up to the analysis of the structure of the grains of the welding (micro). The procedure for carrying out these checks is described in UNI EN ISO 17639 which specifies the procedure to follow to obtain adequate specimens and sections.
Macrographic tests can be carried out both in the workshop and on site, after having made the heel. In general, the Solving UNI.on laboratory allows the use of more accurate vision and measurement instruments.

Vickers micro-hardness
With reference to UNI EN ISO 9015 regarding welding tests, to the UNI EN ISO 6507 series for hardness tests on metallic materials in general.

Tensile test
The reference standard is the UNI EN ISO 6892 series in order to determine, among other characteristics, the mechanical resistance, the modulus of elasticity, the yield strength of the material under examination.
In particular, in the welding sector, this test is often required to validate welding procedures and specifications.

Bend test
The bend test according to UNI EN ISO 7438 involves the plastic deformation of a specimen, up to a specific bend angle, then visually checking the deformed surface. Each type of product can refer to its specific regulation containing the acceptability criteria. In particular, as regards welding, the reference standard is UNI EN ISO 5173.

Impact resilience test (Charpy)
The impact resilience test, conducted using a Charpy pendulum, is described in the UNI EN ISO 148 series of standards. It consists in measuring the energy necessary to break, in a single blow, a specimen of the material under examination, having a unified shape and dimensions, in order to determine the energy absorbed by the material until failure.

Macrographic and micrographic control
Macrographic and micrographic checks are carried out in order to evaluate the internal structure of a weld, with particular attention to the dimensions, the presence of cracks, cavities or inclusions, lack of fusion or penetration (macro) up to the analysis of the structure of the grains of the welding (micro). The procedure for carrying out these checks is described in UNI EN ISO 17639 which specifies the procedure to follow to obtain adequate specimens and sections.
Macrographic tests can be carried out both in the workshop and on site, after having made the heel. In general, the Solving UNI.on laboratory allows the use of more accurate vision and measurement instruments.


